Here I’m going to explain how to setup a Launch Screen Storyboard in order to make your app compliant for Split Screen on iPads.
So it took me several hours (like 10) to figure out how Xcode storyboards can be integrated into my ionic app, because Xcode is a huge mess IMO… and I’m writing this article because there are zero posts about this topic except for this link here: https://issues.apache.org/jira/browse/CB-9161
And that link is of little use but it did let me know that split-screen support can be added!
So there’s a couple drawbacks. For one, I wasn’t able to use the same splash screen images that were generated by ‘ionic resources’. And two, you seem to lose control over the splashscreen timing. I don’t care about the timing of the splashscreen, because I show a secondary loading screen after it disappears. You might actually be able to control it, but that’s beyond the scope of this post.
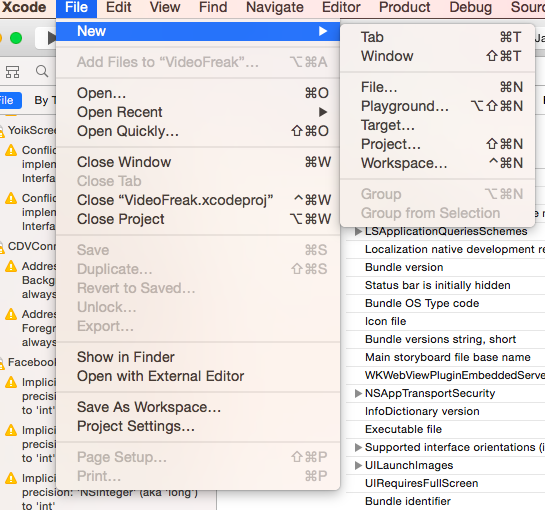
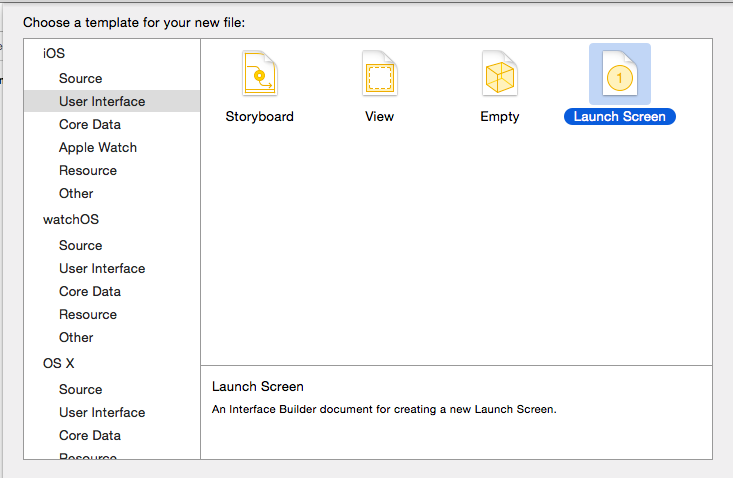
First, start by adding a Launch Screen Storyboard to your app:
Once it’s added, click on the storyboard name in the file manager on the left.
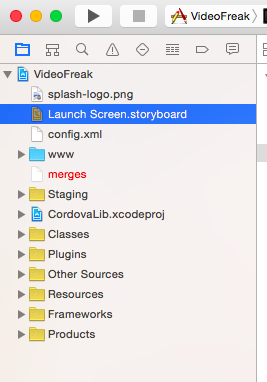
You will open up into a view controller mode.
Keep this step simple, and just cut out your logo from your splashscreen. Then add your logo into the project by going to FILE->ADD FILES TO PROJECT…
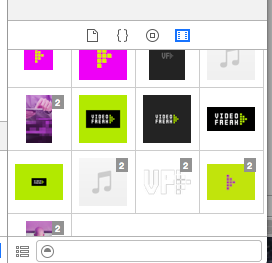
Once your Image is added, it should show up in the bottom right corner of X-Code:
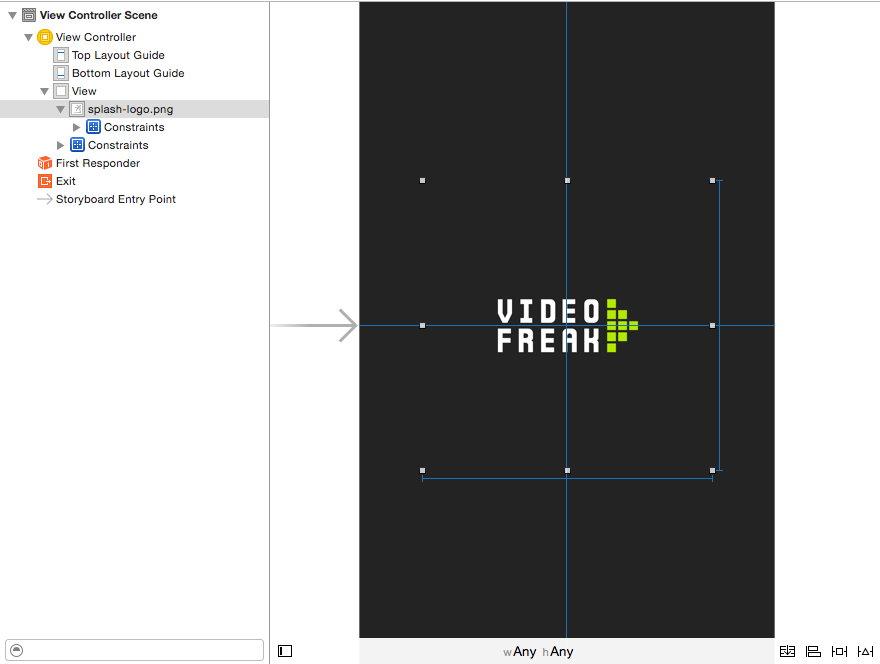
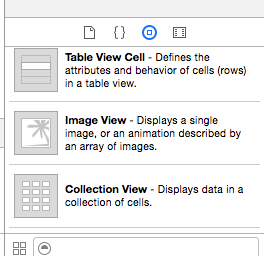
In that same pane, click on the tab with the CIRCLE, and it will show you a whole lot of components. Scroll down until you find the IMAGE VIEW Component:
Drag the component into the Main View Controller Layout. Make it proportional in size as your Logo. Find center by following the guides (just move it around until it snaps into place). It doesn’t matter which view controller size you are viewing, because you will now set the alignment of the logo to center for all possible sizes (landscape or portrait on iphone or ipad).
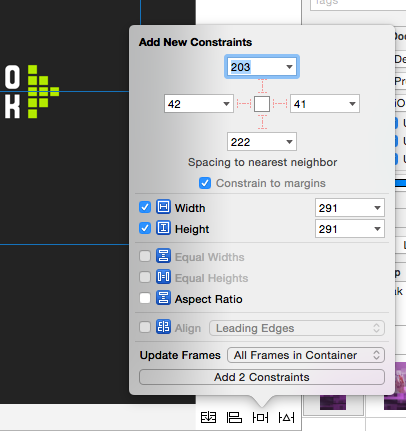
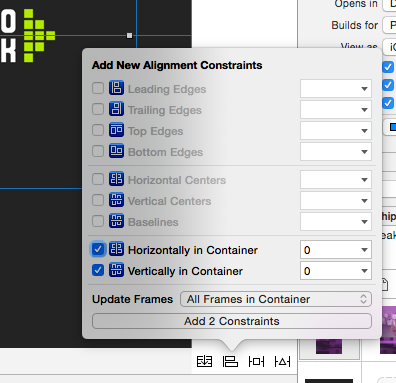
There are 2 alignment settings you have to add. Follow these as examples.
Now your image should be centered, and if you change the dimensions of the view (at the bottom), the logo will stay in the middle.
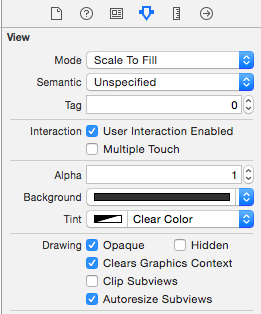
Now just change the background color of the View:
So now you’ve created your Launch StoryBoard. Make sure to press command+s to save it. Xcode seems a bit buggy, and sometimes doesn’t respond to things properly, so double check it all!
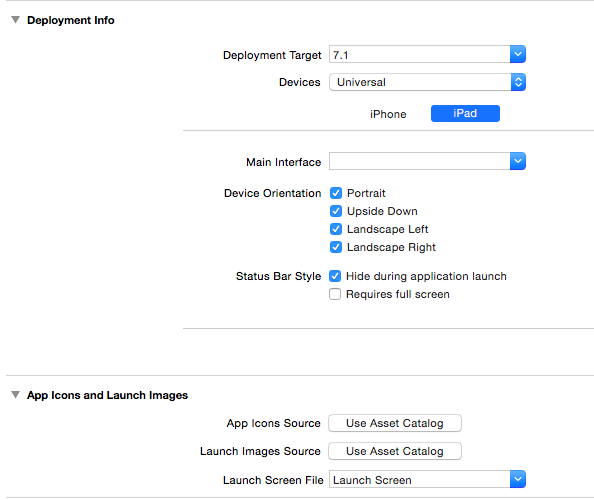
Go back to your main Project settings page and finish setting it up. Just match these settings for iphone and ipad: (Well I don’t allow Landscape on iPhone, but you may well want to).
For iphone:

For iPad: (The main interface setting should be Launch Story – bad screenshot).
You should be good to test everything now. Remember you have to test split screen on iPad Air 2, it doesn’t work on the lesser versions.
Good Luck!